It’s Independence Day!
Hello! Hope you’re having a safe and sane holiday.
I want to acknowledge the day but with a nod to the “independence” part.
Have you noticed how pretty much every main character in a middle grade novel is asserting their independence?
Independence from controlling relatives (Harry Potter).
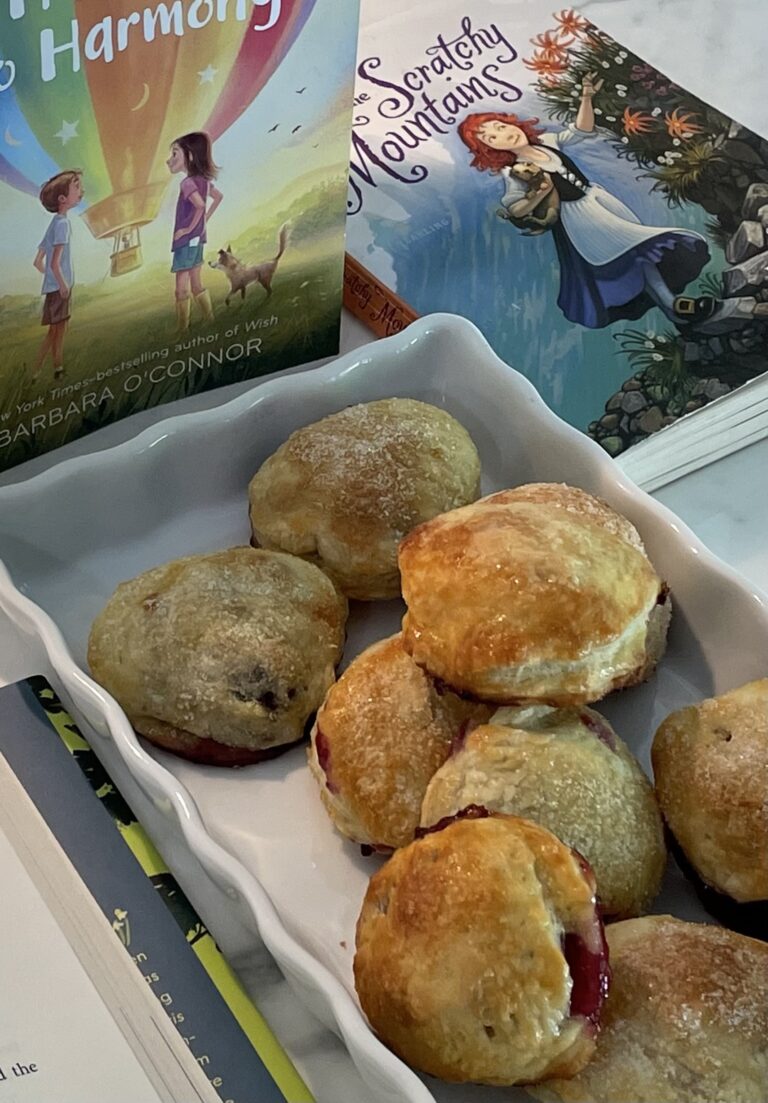
Independence from the ideas of the “popular kids” (Wonderland by Barbara O’Connor).
Independence from various ideas that have governed their lives without question (Up and Down the Scratchy Mountains by Laurel Snyder).
So why not mix up a batch of Independence Day Cookies?
The fun comes from the easy tie-dye icing technique.
You can use this technique for any holiday, all year long.
While you can certainly make them with the traditional red, white, and blue, you can assert your own independence and decorate them as you see fit.
You were born free.
Set your July 4th cookies free, too!
They’re going to be so pretty.
These are simple sugar cookies.
Certainly, you can use any sugar cookie recipe you like, but this one is sturdy and holds up to decorations. (I wouldn’t advise using refrigerated cookie dough from the grocery store. Far too flimsy.)
So on this Independence Day, create holiday cookies in any colors you like.
Pink, purple, and white.
Green, white, and yellow.
Brown, white, and orange.
Rainbow.
It’s your call.
Because you can!
First, the Sugar Cookie Recipe:
Ingredients:
1 cup butter (2 sticks) softened
1 cup sugar
2 eggs
1 tsp vanilla
3 cups flour
½ tsp baking soda
1 tsp salt
Directions:
• In a large bowl, beat sugar and butter until fluffy. (Periodically scrape down bowl so everything gets mixed up.) Do this for about 5-7 minutes.
• Beat in eggs, one at a time.
• Add vanilla to mixture. Beat until fluffy. (About another 3-5 minutes.)
• Combine flour, baking soda, and salt in a SEPARATE BOWL. Stir with a fork.
• Spoon about half of flour mixture into butter mixture. Stir or mix on low speed.
• Add remainder of flour mixture. Stir or mix on low speed until combined.
• Divide dough in half. Put each half in plastic wrap and chill in refrigerator for 30 minutes. (This will prevent it from getting too sticky later.)
• Preheat oven to 375 degrees.
• After 30 minutes, take out one portion of dough. Set it on parchment paper or wax paper that you have sprinkled with a little bit of flour. Sprinkle top of dough with a bit of flour too. Put another piece of parchment/wax paper on top. Roll to about ¼ inch thickness. (I used clean pencils as my guide when I was rolling.) You want these cookies to be fairly thick so they don’t fall apart when you’re decorating
.
• Use whatever cookie cutters you want or just use a glass to cut round cookies. (I used a variety of 2 ½” to 3” cookie cutters and got about 24 cookies.)
• Lay these on a cookie sheet lined with parchment for easy clean-up (NOT WAXED PAPER HERE!). Don’t crowd the pan. Although, they won’t spread.
• Bake for about 6 minutes, or until the top of the cookie isn’t glossy/shiny anymore.
• Let cookies cool completely before icing.

Now the Icing Recipe.
Ingredients:
1 bag confectioner’s sugar (powdered sugar)—32 ounces
1 egg white (Alternatively, you can use 1/3 cup + 1 tbsp meringue powder)
1 tsp vanilla
¾ cup warm water (maybe a little more)
Directions:
• Put all ingredients in the bowl of your mixer. Starting at low speed and gradually increasing to medium, mix until thoroughly combined. (The sugar likes to clump…don’t let it.)
• This makes A LOT of icing. If you’re only going to use three colors, you can probably get away with cutting this recipe in half. But if you’re using an egg white, use the whole thing. (It’s hard to halve an egg white!)
• You want this icing to be rather free-flowing. If the icing drizzles easily, it’s ready. Test it by putting some on a spoon and letting it drip back into the mixing bowl. If it doesn’t drizzle easily, add a little more water, about ¼ teaspoon at a time.
Here’s the Fun & Simple Tie-dye Icing Technique:
• Decide how many colors you want to use. Get that many small bowls.
• Spoon the white icing into each small bowl.
• Add a couple of drops of food color to each bowl. (I like to keep one bowl of plain white icing.) If you’re using traditional food coloring, this is going to act like a liquid and thin out your icing a little. If you use gel food coloring, you won’t have that issue.
• Mix each color with a separate spoon!
• Using the spoon in one of the bowls, glop and drizzle some of the icing onto a plate in a random pattern.
• Add other colored icing to the plate.
• Using a clean spoon, swirl the colors. (It’s mesmerizing.)
• Now take one of your cooled cookies, holding it by the edges. Set it gently in the swirled icing on the plate. Twist and GENTLY pull up the cookie. (There’s going to be a bit of a suction. This is why it’s helpful to have a thick cookie.) If your cookie’s not completely covered to your liking, swirl it in the colors again.
• Do this until all your cookies are decorated…except for one or two.
• When you’re cleaning up, pour all the unused colored icing onto a sheet of waxed paper. It’s going to be pretty—that’s why you saved a couple of cookies. Before you toss that unused swirly mish-mash of icing in the trash, take a knife or the tip of a spoon and run it through the icing. Now ice your last two cookies.
• Let your cookies dry completely, about 3 or 4 hours. Afterward, you can store them in the freezer or put them in the refrigerator (because of the egg white).
(Clean-up is the most difficult thing with this recipe. It can be messy. Be careful. Colored icing has a way of getting into places you’d never expect.)
Have fun!
~gail
Before you go, don’t forget to sign up for my mailing list, below:
